
Hi all! So before we get to our Spring Link Party we talked about here....we're participating in a Pinterest challenge.

I'm sure everyone has jumped on this bandwagon by now - we both remember when we were the only people following each other's boards! This Pinterest party is hosted by Sherry at younghouselove.com and Katie over at bowerpowerblog.com. They basically are trying to motivate everyone to STOP pinning and START doing.
So we thought we would tackle two Pinterest challenges since there are two of us after all. So check out below to see what we were inspired to create....
1. Kim's Pinterest Challenge
I'm sure in previous posts I've shown/talked about my very antique white and bare walls that run throughout my entire apartment. So, when I was starting on my bedroom, I knew I would need to create a headboard that had a little umph to it. I found all of these amazing headboards on Pinterest which made it very difficult to decide the direction I wanted to go in but I seemed to keep choosing the padded headboard look so I decided to just go with it...


Source: sawdustandembryos.com via Kim on Pinterest
The most difficult part of the entire process was picking the fabric. There was so much to choose from and it is something you will have to look at everyday when going to bed and waking up in the morning. In the rest of my apartment I kept darker colors with splashes of white so I really wanted romantic/girly/flirty colors in the bedroom. I chose fabric by Waverly at our local JoAnne's. It would have been $50 for the 2 yards but I got this on a half price weekend (ridic lines encountered) so only spent half, duh=$25.
I followed the tutorial on Sawdust and Embryos to create a padded headboard. This project got me back into my local Lowe's where I got to hang out with my lumber boys. I've been having them help me with projects so often that they didn't even blink when I asked them to cut 18 pieces of wood all the same size; they actually kinda laughed a little...I'm sure thinking, "Oh, what is this crazy girl doing now." I also picked up liquid nail paste, mounting hardware (found it in the picture frame section - got 2 packs=4 total in fear of head board crashing mid sleep), and the backboard to mount all of the individual squares onto.
The steps were so easy, just monotonous and you had to take a few breaks in between stapling and stuffing each square. I actually didn't care to much about making anything perfect; the pattern in my material wasn't going to stand out too much where someone would notice so I didn't worry about aligning the pattern and I didn't focus on how much I was stuffing each square...I stuffed based on feel.
After all of the squares were ready to go (this took about 4 nights after work to complete) I laid them all out on the backboard to see how it looked... then I went crazy with the liquid nail and spread it all over the back board. It was obviously much easier to do it this way then by gluing each individual square and mounting it onto the board. Once I had each square in place, I gently walked over the top of the padded squares to make sure that they were pushed down firmly (yes, my feet were clean:) ). Before I went to bed, I carefully flipped the entire board over so that the padded side was now on the floor so it could dry over night with a little bit of weight on it.
I had one of my friends come over and help me mount the headboard to the wall the following day. I was so excited to get the headboard up and feel like my bedroom was finally coming together! I would never suggest this but we leveled the mounting hardware by our very own eyes. It was such an awkward size piece to hang and I was so anxious to get it on the wall that I didn't want to wait to get all the proper equipment and manpower to really do this thing like professionals. I like to wing it and it actually does look level and I LOVE IT.
I have had the headboard up for several months now and it is still as sturdy as it felt when I originally made it. It is so comfortable to be able to sit up in bed and have something to lean back on other than a cold, unwelcoming antique wall. :)
Look below at the before and after pictures! Please excuse the pillows, side table, and lack of personality elsewhere!
Before---->


After-->

2. Courtney's Pinterest Challenge
I have been stalking pictures of serving platters that are made from stumps. Kim was the first one to get me inspired when she featured her awesome stump stools. I love the natural elements and I have been dying to make some stumps of my own.
Since I'm throwing a LumberJack & Jill couples shower this weekend for my friends I thought it would be great to use stumps as platters for our dishes on the food table. I've seen so many different types all over Pinterest.
I found some great pictures on Pinterest of using stumps as cake plates like these found here...


And I love the thin slabs used for centerpieces that Pinterest featured from here

I love all these inspiration photos Pinterest offered to me and was super motivated to get some stump serving platters "dished" up for the party. I loved the simplicity of the last picture and the thinness of the stump. It looked more like a platter than a large stump. I also thought it resembled this one at Crate & Barrel and this is what I saw as the perfect accessory for the shower.

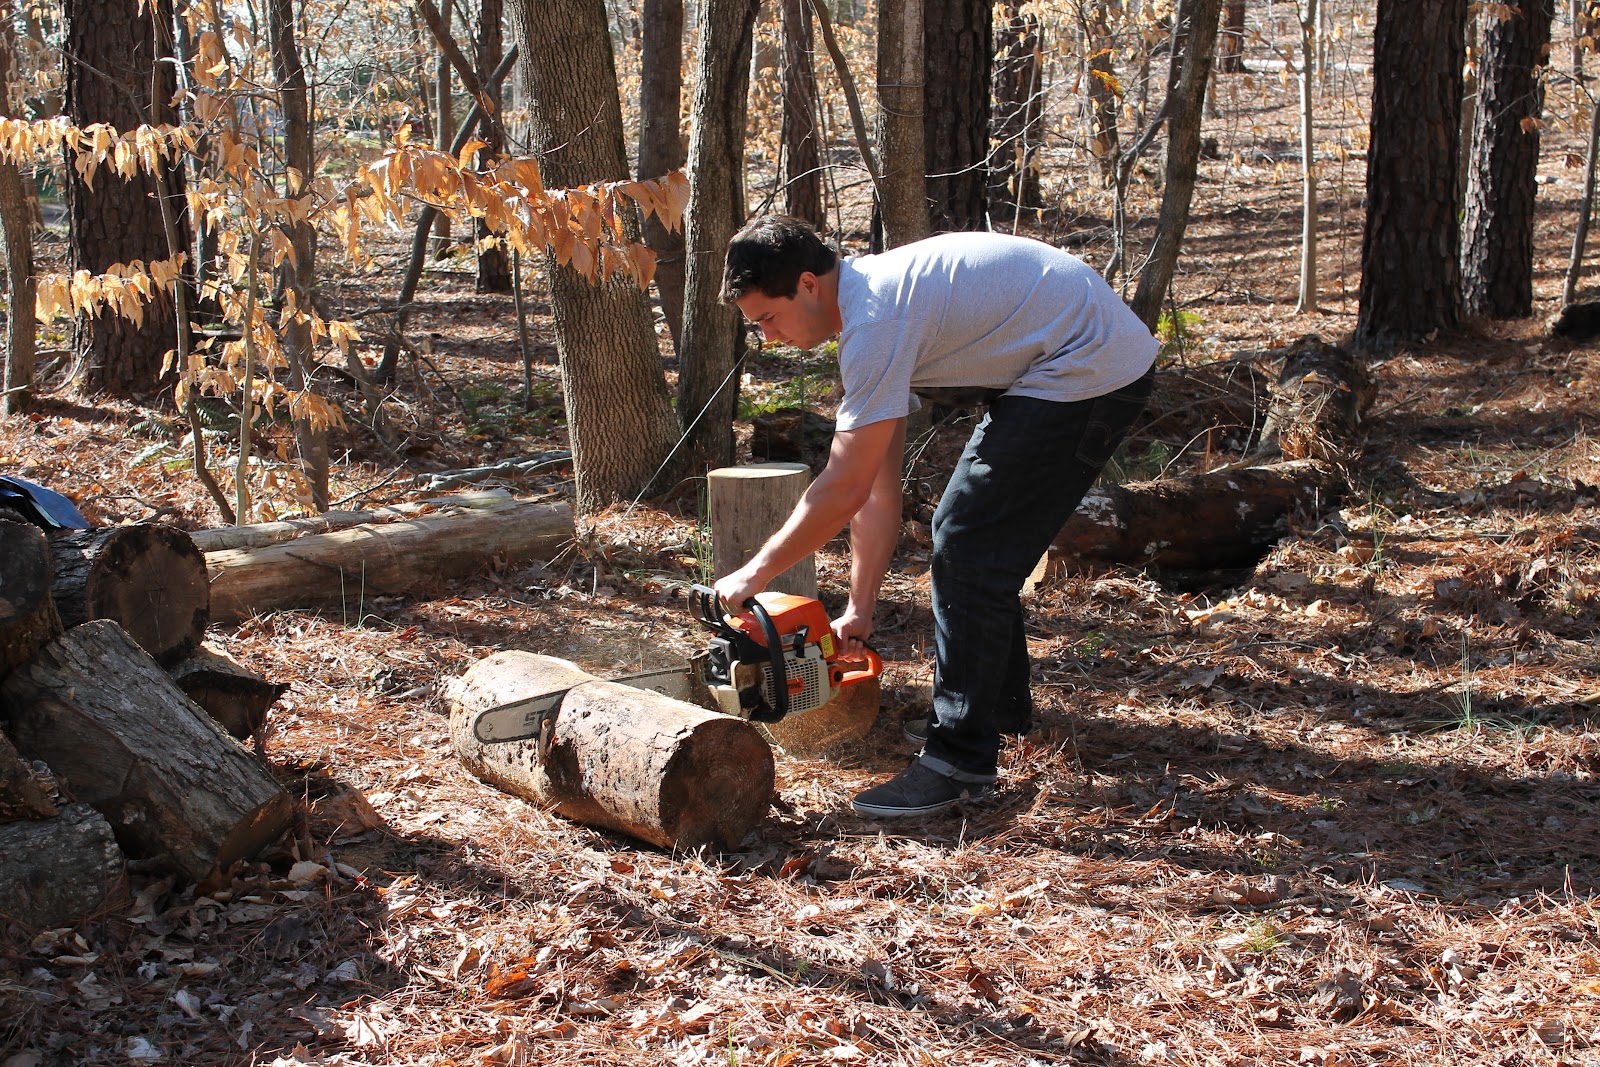
Ben & I set to work on this together since he knows how to use a chain saw. And plus I don't think there is any way you could get me to ever use one. They scare the bejeezus out of me! This is the log pile where Ben & his Dad cut wood from for our winter fire supply.
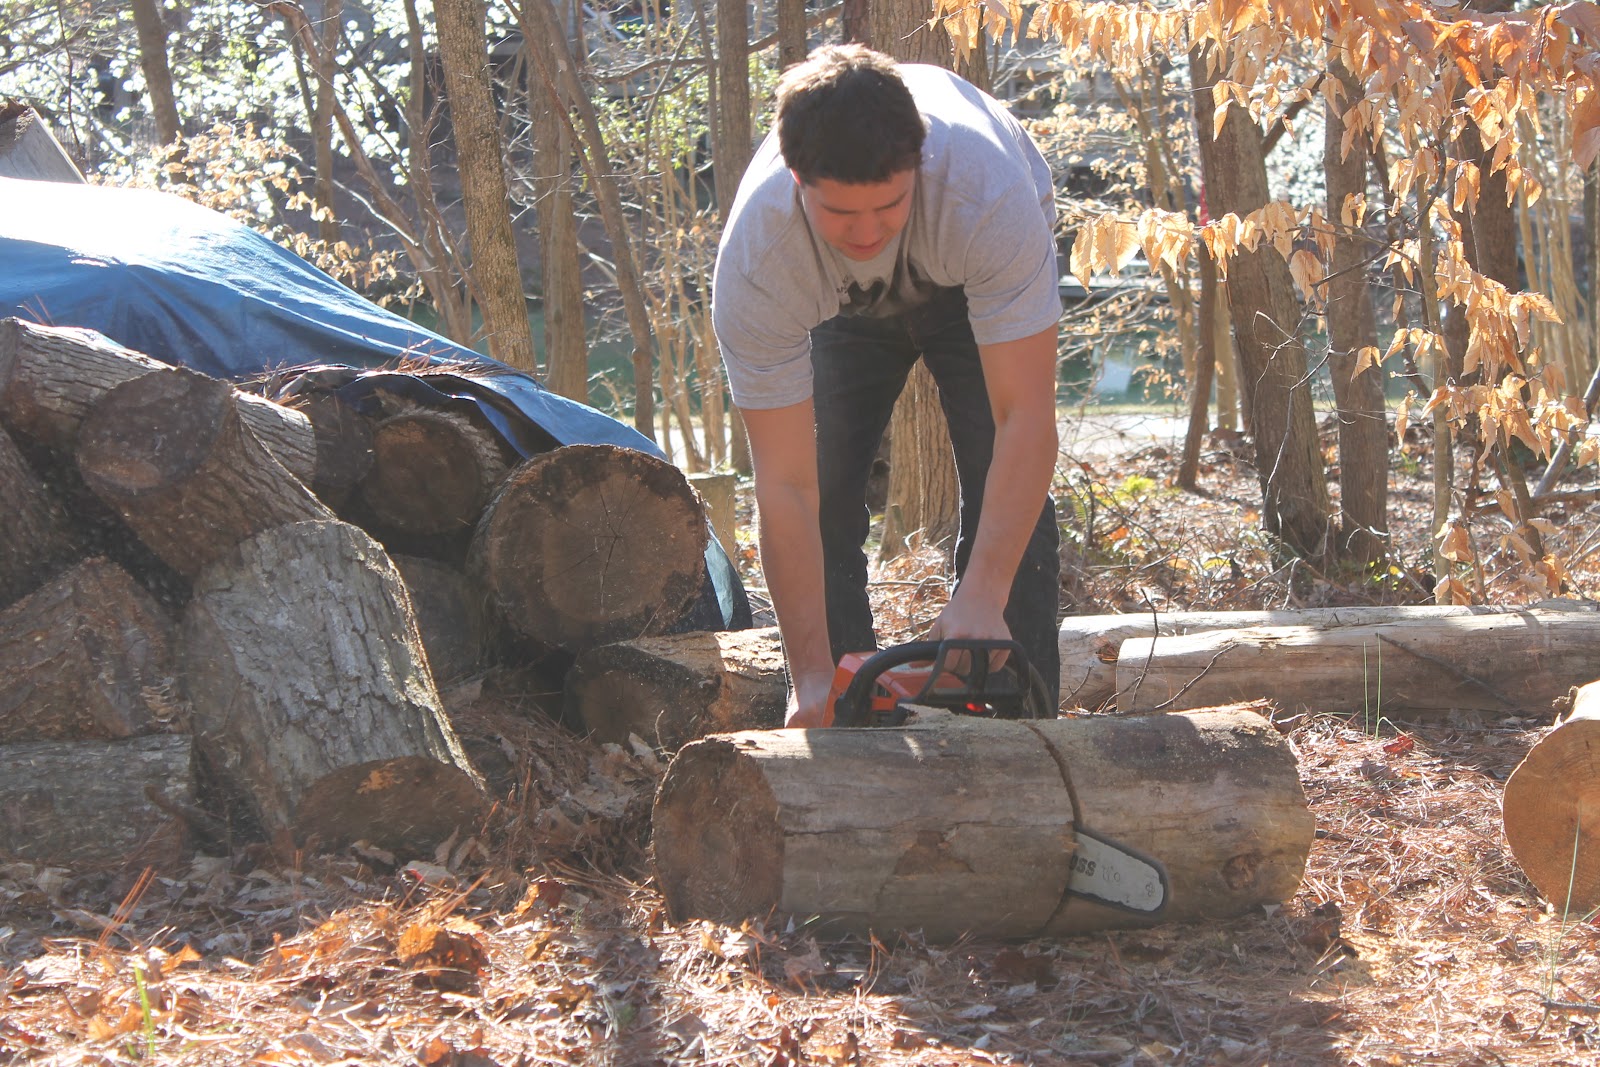
We found some great pieces that have dried out for months and would be perfect to cut. Ben set to work chopping different sizes for the platters and a few to make stump stools like Kim did.
We then followed Kim's procedures but just on a smaller scale. We sanded each and every bit of the slices for a smooth finish. You can see we went ahead and cut some stumps to do a large stump project soon!

We bought this Zinsser Shellac at Lowes for our project. It goes on clear which is what we were going for since these will be serving platters. I've also had good experience with Zinsser products in the past. We applied this in several coats with a foam brush all over the platters.

We would apply one coat and let it dry for an hour (per the directions) and we would sand in between coats. We did this around three or four times last night.

I absolutely love how they turned out. The below picture is the second to last sanding (sorry, late night and was trying to set up for the shower this weekend). They look very similar to the platters at Crate & Barrel that are $22 each. We just paid $12 for the sealer (we had a 10% coupon) and we only used about a 1/4 of the shellac. The logs really soak up the shellac so don't be afraid to use a lot of it during applications. If we had bought two platters from C&B it would have run us $45 at least. How much fun free logs are!

You'll notice that we kept the bark on the sides and just shellaced (is that a word?) the top and bottom of the slivers. We really wanted to keep it as rustic as possible and I liked the Pinterest inspiration photos that kept the bark on. The cracks are my favorite parts too because it shows how natural they are. And the shellac really brought out a beautiful rich color in the slabs. Just wonderful!
I won't be able to show you these pretty babies in action until the shower is over this weekend but I can promise I won't be disappointed.
Thank you all for stopping in from the link parties. We hope you enjoyed our two projects that Pinterest helped us create. And if you are just visiting and haven't dropped by to see the other link parties then head over to younghouselove.com and bowerpowerblog.com for the other blogs entered. Enjoy!
Both projects turned out great!
ReplyDelete